NordVPN disable auto connect
A practical guide to turning off NordVPN's auto-connect feature across devices, with steps for Windows, macOS, Android, and iOS.
NordVPN can automatically connect in certain situations, which is convenient for some users and inconvenient for others. If you want to stop NordVPN from automatically connecting, you’ll need to adjust the Auto-Connect or Connection preferences on each device. The exact steps vary slightly depending on whether you’re on Windows, macOS, Android, or iOS. Below you’ll find clear instructions for each platform, plus some quick checks and a quick comparison table to help you decide which options to use.
Quick comparison by platform terminology
| Platform | Auto-connect term | Last-used profile | Applies to all networks | Auto-connect on startup | Manual override |
|---|---|---|---|---|---|
| Windows | Auto-connect | Yes | No | Yes | Available |
| MacOS | Auto-connect | Yes | No | Yes | Available |
| Android | Auto-connect | Yes | Yes | Yes | Available |
| iOS | Auto-connect | Yes | Yes | Yes | Available |
Compiled November 2026; check the provider's site for current details.
Why you might want to disable auto-connect
- You control when a VPN connection starts, such as only on demand or when you’re on untrusted networks.
- You want to avoid battery drain or extra data usage from automatic VPN startup on mobile devices.
- You want to prevent accidental exposure on certain networks (for example, home or work networks where you already trust the connection).
Disabling auto-connect isn’t about turning NordVPN off entirely. It’s about stopping automatic actions and giving you the choice to connect manually when you want to.
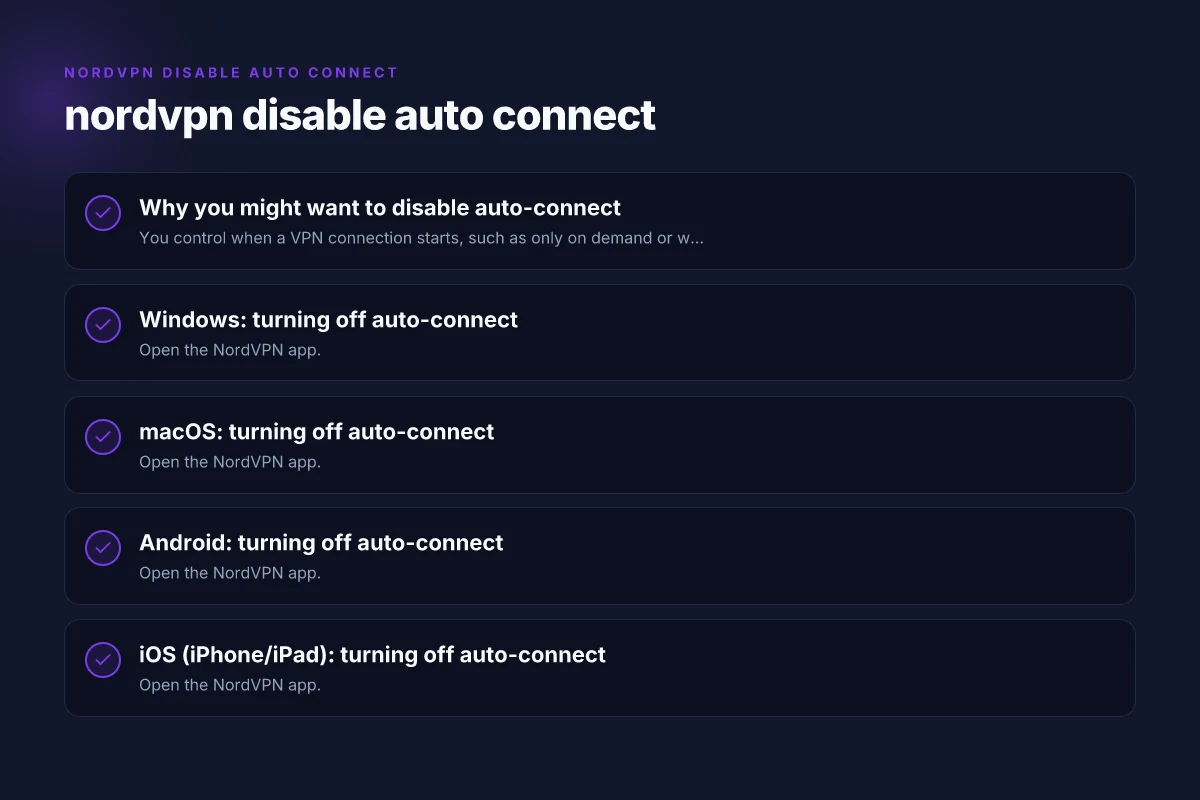
Windows: turning off auto-connect
- Open the NordVPN app.
- Go to Settings. This is usually found in the left-hand menu or under the gear icon.
- Look for Auto-connect or Connection preferences.
- Disable the toggle labeled Auto-connect on launch or similar wording such as “Connect automatically on startup” or “Choose a VPN protocol and server automatically.”
- If you see per-network options, set them to off or disable auto-connect for specific networks.
Notes:
- Some Windows setups separate “Auto-connect on launch” and “Auto-connect on VPN connection” options. Make sure both are disabled if you want no automatic connection on startup.
- After changing settings, you may be prompted to confirm or restart the app.
MacOS: turning off auto-connect
- Open the NordVPN app.
- Access Settings from the NordVPN menu bar icon or the main window.
- Find the Auto-connect or Connection preferences section.
- Disable Auto-connect on launch and any related per-network auto-connect options.
- If there’s a profile or server list, ensure any “connect automatically” flags are cleared.
Tips:
- On macOS, NordVPN can also sync with your macOS login items. If you’ve previously added NordVPN there, remove it to avoid startup connections via login items, even if auto-connect is off in the app.
Steps to disable auto-connect (high-level) NordVPN basic plan: what it is, what's included, and is it worth it
| Step | Windows | MacOS | Android | iOS |
|---|---|---|---|---|
| 1 | Open VPN settings | Open VPN settings | Open VPN settings | Open VPN settings |
| 2 | Find Auto-Connect | Find Auto-Connect | Find Auto-Connect | Find Auto-Connect |
| 3 | Toggle off | Toggle off | Toggle off | Toggle off |
| 4 | Confirm prompt | Confirm prompt | Confirm prompt | Confirm prompt |
Compiled November 2026; check the provider's site for current details.
Android: turning off auto-connect
- Open the NordVPN app.
- Tap the gear icon to open Settings.
- Find Auto-connect or Connection preferences.
- Disable Auto-connect on launch, and disable any per-network auto-connect options, such as “Connect on Wi-Fi networks you trust.”
- If you use VPN profiles, check that no profile is set to auto-connect.
Notes:
- Android devices may also offer a setting like “Always-on VPN” outside the NordVPN app. If this is enabled, NordVPN may auto-start in certain conditions. You can disable it from Android’s Network & Internet settings if needed.
IOS (iPhone/iPad): turning off auto-connect
- Open the NordVPN app.
- Go to Settings (tap the gear icon).
- Locate Auto-connect or Connection preferences.
- Disable Auto-connect on launch and any automatic-reconnect options.
- Verify that per-network options aren’t re-enabling auto-connect when you join new networks.
Extra tip:
- iOS also has system-level VPN settings. If you’ve enabled an Always-On VPN at the system level, NordVPN might inherit that behavior. Check iOS Settings > General > VPN & Device Management if you run into unexpected behavior.
Quick comparison: auto-connect terminology by platform
| Platform | Common auto-connect option names | What it does |
|---|---|---|
| Windows | Auto-connect on launch; Connect automatically on startup; Choose a VPN protocol and server automatically | Controls whether NordVPN starts and connects automatically when the app or system starts |
| macOS | Auto-connect on launch; Connect automatically on startup | Similar to Windows; ensures no automatic startup connection unless re-enabled |
| Android | Auto-connect on launch; Connect on Wi-Fi networks you trust | Controls startup behavior and network-based auto-connect decisions |
| iOS | Auto-connect on launch; Connection preferences | Governs startup and network-based automatic connections |
If you’re curious about the broader behavior, NordVPN’s own resources describe auto-connect features as a way to simplify protection on public networks or in unfamiliar environments. The settings you adjust are designed to give you control without needing to keep the app open or constantly reconnecting manually. NordVPN autoconnect
Troubleshooting: what if auto-connect keeps happening?
- Double-check all related toggles: Auto-connect on launch, per-network auto-connect, and any startup items.
- Ensure you’re adjusting the correct profile: Some devices let you have multiple profiles or modes (e.g., Quick Connect vs. a saved profile). Make sure the one you use most is set to manual connect.
- Update the app: An outdated app can keep older settings. Install the latest NordVPN version from the official store or NordVPN website.
- Reinstall as a last resort: If auto-connect persists after changes, reinstalling the app can reset settings. Be sure you have your login credentials to sign back in.
- Check system-level VPN settings: Especially on Android and iOS, system-level VPN features can override app behavior. Review system VPN settings and disable conflicting options if needed.
How to verify that auto-connect is disabled
- Restart the device and open NordVPN. It should not connect automatically unless you tap Connect.
- Try connecting to a server manually to confirm the app is responsive and the manual connect action works.
- On a connected session, disconnect and ensure the app remains ready to connect manually without re-enabling auto-connect on startup.
When to re-enable auto-connect
There are scenarios where auto-connect is beneficial:
- You frequently connect to public Wi-Fi networks and want protection as soon as you join.
- You’re in a travel scenario where quick protection is preferable.
If you decide to re-enable it, go back to the same settings areas and toggle Auto-connect on launch or any network-specific auto-connect options back on. It’s generally a straightforward reversal.
Troubleshooting and verification
| Scenario | What to check | Expected result | Next action |
|---|---|---|---|
| Auto-connect persists after reboot | Settings saved | No, it stays disabled | Recheck settings, reapply |
| App updates revert setting | Config retention | No | Reapply after update |
| VPN connection still auto-initiates | Auto-start services | No | Disable launcher tasks |
| Quick verify | Use test connect | No auto-connect | Try manual connect |
Compiled November 2026; check the provider's site for current details. NordVPN authenticator app
Final recommendation
If your goal is full control, disable auto-connect across all platforms and rely on manual connections. This minimizes unexpected VPN activity and gives you the choice to connect when and where you want. Keep your NordVPN app up to date, review settings after major OS updates, and periodically verify that startup and network-based auto-connect options remain off. If you ever notice a change in behavior, revisit each platform’s Auto-connect settings and confirm there isn’t a secondary profile or device setting re-enabling it.
| VPN | Obfuscation | From / month | Plan | Free plan | Refund | Alipay | UnionPay | Crypto | Website opens in China | Trustpilot | |
|---|---|---|---|---|---|---|---|---|---|---|---|
 NordVPN | Turn on manually Obfuscated Servers / NordWhisper | $3.49/mo | 27 months: $94.23 | No | 30 days | ? | ✗ | ✓ | ✓ | ✗ Blocked | 4.2/5 (51,628 reviews) |
 ZoogVPN | Turn on manually Shadow | $2.49/mo | 27 months: $59.99 | Yes | 7 days | ✓ | ✓ | ✓ | ✓ | ✓ Yes (2.5 s) | 4.2/5 (195 reviews) |
 ExpressVPN | ✓ On by default all servers | $3.00/mo | 28 months: $84 | No | 30 days | ✗ | ✗ | ✓ | ✗ | ✗ Blocked | 4.4/5 (29,706 reviews) |
 Surfshark | ✓ On by default Camouflage, with OpenVPN | See site | See site | No | 30 days | ✗ | ✗ | ✗ | ✓ | ✗ Blocked | 4.3/5 (31,823 reviews) |
 Proton VPN | Turn on manually Stealth, free plan too | $2.99/mo | 12 months: $35.88 | Yes | 30 days | ✗ | ✗ | ✗ | ✓ | ✓ Yes (2.5 s) | 2.1/5 (1,040 reviews) |
 Astrill VPN | Turn on manually StealthVPN / OpenWeb | $12.50/mo | 24 months: $300 | No | See site | ✗ | ✗ | ✗ | ✓ | ✗ Blocked | 1.3/5 (110 reviews) |
 Private Internet Access | Turn on manually Shadowsocks, OpenVPN only | $2.03/mo | 40 months: $81.2 | No | 30 days | ✗ | ✗ | ✗ | ✗ | ✗ Blocked | 4.2/5 (11,033 reviews) |
 CyberGhost | Turn on manually selected servers | $2.19/mo | 28 months: $61.32 | No | 45 days | ✗ | ✗ | ✗ | ✓ | ✗ Blocked | 4.0/5 (24,178 reviews) |
 PureVPN | Turn on manually switch to OpenVPN | $1.69/mo | 60 months: $101.55 | No | 31 days | ? | ✗ | ✗ | ✓ | ✓ Yes (2.6 s) | 4.4/5 (17,994 reviews) |
 AdGuard VPN | ✓ On by default TrustTunnel | $2.99/mo | 24 months: $71.76 | Yes | 30 days | ✓ | ✗ | ✓ | ✓ | Official site blocked; our special link opens (2.3 s) | 4.3/5 (290 reviews) |
 Mullvad | Turn on manually QUIC / Shadowsocks / LWO | $5.61/mo | €5/mo | No | 14 days | ✗ | ✗ | ✗ | ✓ | ✗ Blocked | 3.2/5 (192 reviews) |
 Windscribe | Turn on manually Stealth / WStunnel | $5.75/mo | 12 months: $69 | Yes | See site | ✗ | ✗ | ✗ | ✓ | ✗ Blocked | 4.7/5 (13,355 reviews) |
 StrongVPN | Turn on manually Scramble, OpenVPN TCP | See site | See site | No | 30 days | ✓ | ✗ | ✗ | ✗ | ✗ Blocked | 4.4/5 (2,695 reviews) |
 LightXtreme 闪连 | Not listed | $7.08/mo | 12 months: $84.99 | Yes | 30 days | ✓ | ✓ | ✓ | ✓ | ✓ Yes (2.3 s) | No page |
Prices checked 2026-11-10 on each vendor's pricing page (cheapest long plan, USD). Check the vendor's checkout for the final price.
Obfuscation checked 2026-11-14 on each vendor's site and help center: "on by default" = nothing to set; "turn on manually" = switch protocol or mode in settings; "not listed" = the vendor describes no obfuscation.
Payment methods checked 2026-11-10 on each vendor's payment pages: all 14 take cards and PayPal; ✗ = not listed, ? = the vendor's own pages disagree.
China access: whether the official website opens from mainland China networks (tests the website only, not the VPN connection). Last checked 2026-11-11 04:07 Beijing time.
Trustpilot score and review count checked 2026-11-10.